Step by Step
Clay polymer earrings tutorial

Follow along
Step by step on how to make Clay Polymer Earrings:
1. Gather Your Materials:
Polymer clay in your desired colors
Earring hooks or studs
Rolling pin or clay roller
Cutting tool (such as a craft knife or cookie cutter)
Oven for baking the clay (follow the manufacturer’s instructions for temperature and duration)
Optional: Texture stamps, embossing tools, and other decorative elements
2. Prepare Your Work Surface:
Lay down a clean, smooth surface to work on, such as parchment paper or a ceramic tile. This will prevent the clay from sticking and make cleanup easier.
3. Condition the Clay:
Knead the polymer clay in your hands to warm it up and make it more pliable. Conditioning the clay will make it easier to work with and help eliminate any air bubbles.
4. Shape the Clay:
Roll out the clay to your desired thickness using a rolling pin or clay roller. For earrings, aim for a thickness of around 1/8 to 1/4 inch (3-6 mm), depending on your preference.
Use a cutting tool to cut out your desired shapes for the earrings. You can experiment with geometric shapes, circles, squares, hearts, or any other design you like.
5. Punch Holes for Earring Hooks:
If you’re making dangly earrings, use a toothpick or other small tool to create a hole near the top of each earring shape. This is where you’ll attach the earring hooks later.
6. Add Texture and Design (Optional):
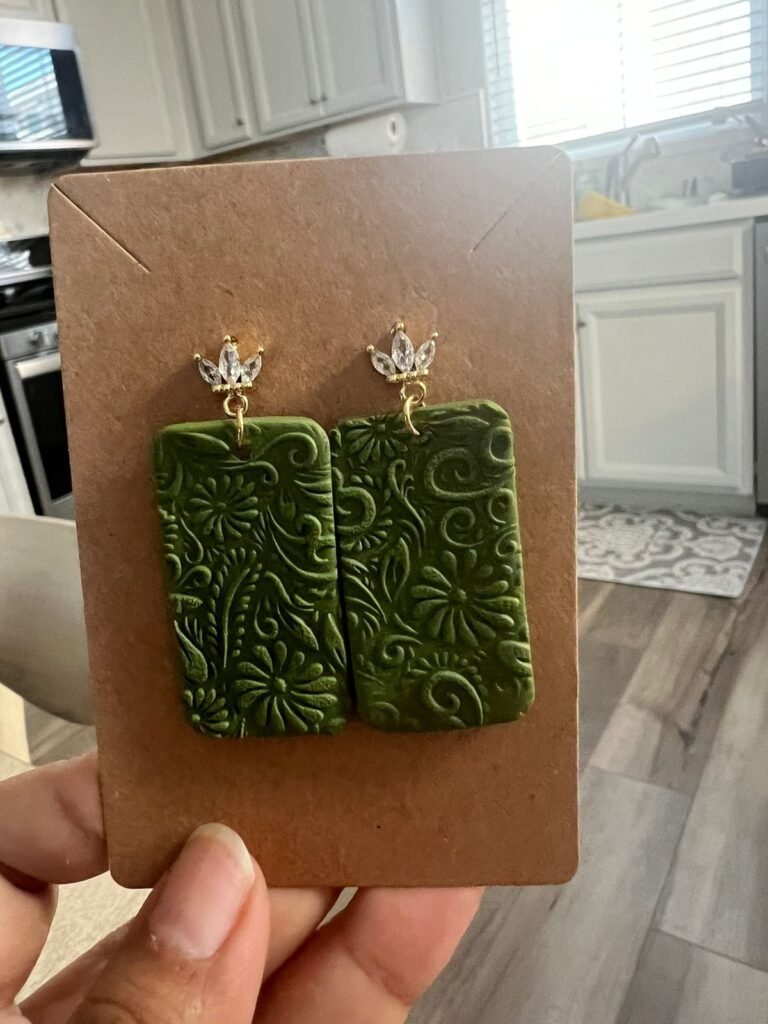
Get creative with texture stamps, embossing tools, or other objects to add texture and design to your earrings. Press the stamps or tools gently into the clay to create patterns or impressions.
7. Bake the Clay:
Preheat your oven to the temperature specified on the package instructions for your polymer clay (usually around 275°F to 300°F or 135°C to 150°C).
Place your clay earrings on a baking sheet lined with parchment paper and bake them in the oven for the recommended time (typically 15-30 minutes, depending on the thickness of the clay).
Keep an eye on your earrings while they’re baking to prevent burning or over-baking.
8. Attach Earring Hooks:
Once the earrings have cooled completely, attach earring hooks or studs to the holes you created earlier. You can use jump rings or jewelry glue to secure the hooks in place.
9. Finishing Touches (Optional):
If desired, you can add a coat of clear varnish or glaze to your earrings to give them a glossy finish and added durability.
10. Enjoy Your Handmade Earrings!:
Your polymer clay earrings are now ready to wear or gift to a friend! Experiment with different colors, shapes, and designs to create unique pieces that reflect your personal style.